GitHub Hub CLI - An extension to git command-line
As I started writing more in markdown and using GitHub pages, my work with git and GitHub increased quite a bit. At times, I find myself fighting with git conflicts and merges. I am not an expert in git command-line and in a complex scenario, I figure my way out looking for some help.
You may have already seen in my articles that I use GitHub CLI a lot to work with my GitHub repositories, pull requests, and issues. I recently started using another CLI tool from GitHub called hub. Hub is an extension to git command-line and makes working with GitHub from the command-line a breeze.
Install Hub CLI
You can download Hub CLI from https://github.com/github/hub/releases/. I am using Windows OS and therefore I downloaded the 64-bit zip archive package for Windows. Once the download is complete, extract it to a temporary location and run install.bat at the command prompt. If the install is successful, you will see a message that hub.exe installed successfully.
The hub.exe binary gets copied to %LOCALAPPDATA%\GitHubCLI\Bin. This gets added to the user path variable and if you close and reopen the console, you should be able to start using hub.
Create repositories
The first thing you may want to do is to indicate https for all hub communication with GitHub.
|
|
Once this is done, you can create a GitHub repository.
From an empty folder
You can either create a GitHub repository from an empty folder or from folder that already has your files. Let us look at the first method now.
|
|
The hub init command is same as git init. It will initialize a git repository in the empty folder. The hub create command will create the GitHub repository from the local git repo. The -p flag indicates that you want to create a private repository, -o indicates that the newly create repository URL be opened in a browser, and -c indicates that the created repository URL be copied to clipboard. The -d and -h flags should be self-explanatory.
hub createwill prompt for your GitHub credentials. A personal access token gets created and will be given limited scopes.
Once this repository is created, you can add the files to this folder and push upstream to GitHub.
|
|
From an existing folder
To create a repository from folder from that contains your code, you need to set the location to that folder and run the following commands.
|
|
The above commands will create a new GitHub repository from an existing folder. The name of the folder gets used as the name of the repository.
Delete repositories
The personal access token that gets created when you first authenticate using the hub CLI. However, this token will not be given the delete_repo scope permission. Therefore, to be able to delete a repository using hub CLI, you need to enable the delete_repo scope for the personal access token.
Once you enable the required scope, you can use the hub delete <repoName> command.
The -y flag command with this command will skip the prompt.
Working with gists
You can use hub gist subcommand to work with gists. This command supports listing gists, getting contents of a gist and, creating new gists.
Show gists
To list gists from your account, you can use the hub gist show command. This requires a mandatory ID parameter which you can obtain from the gist URL from gists.github.com.
|
|
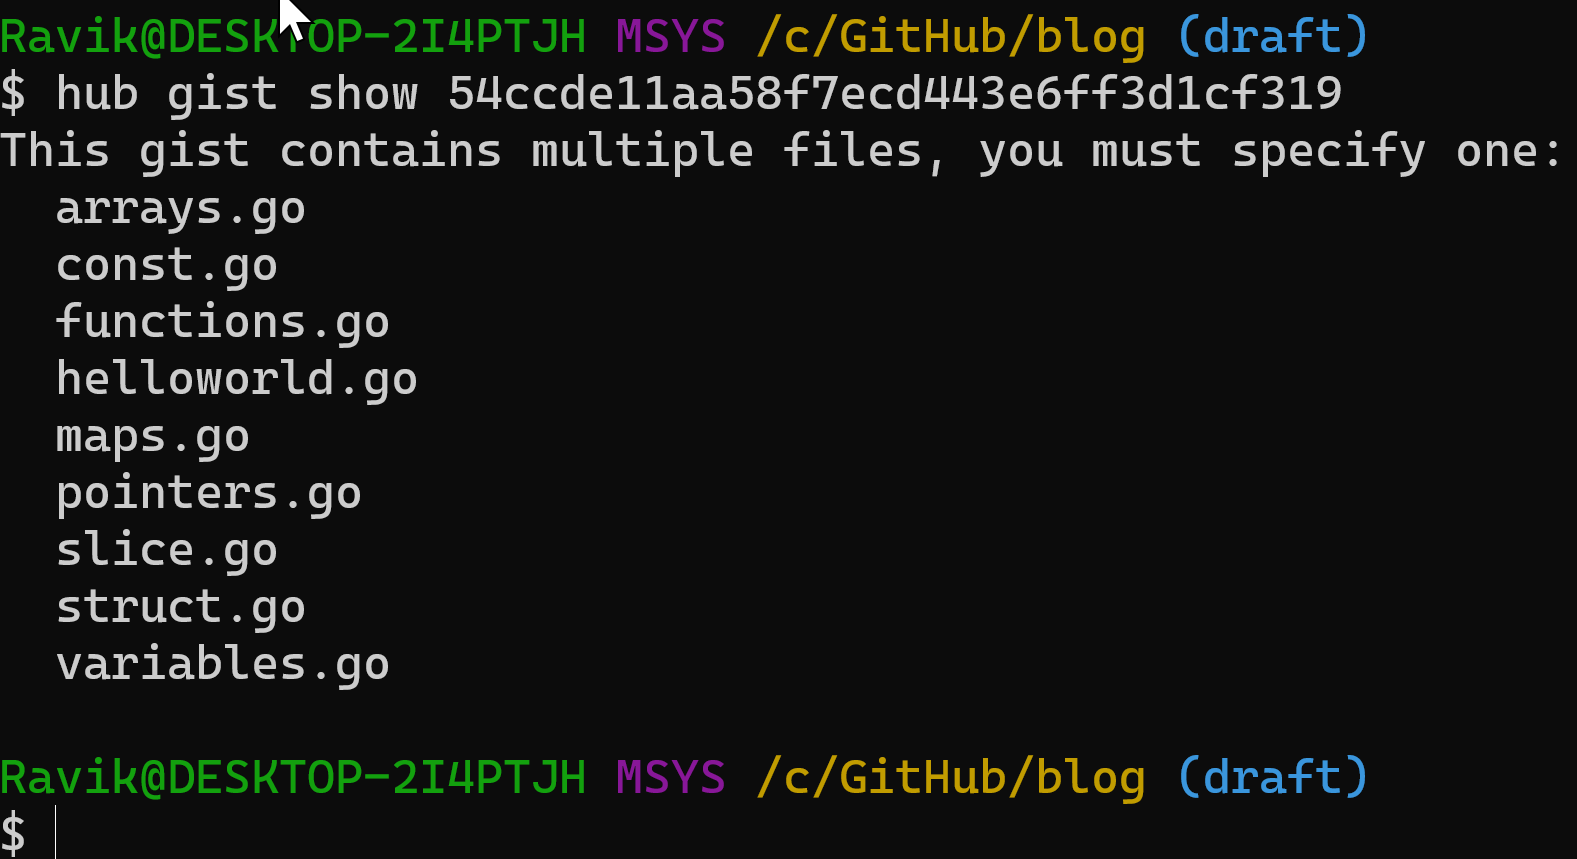
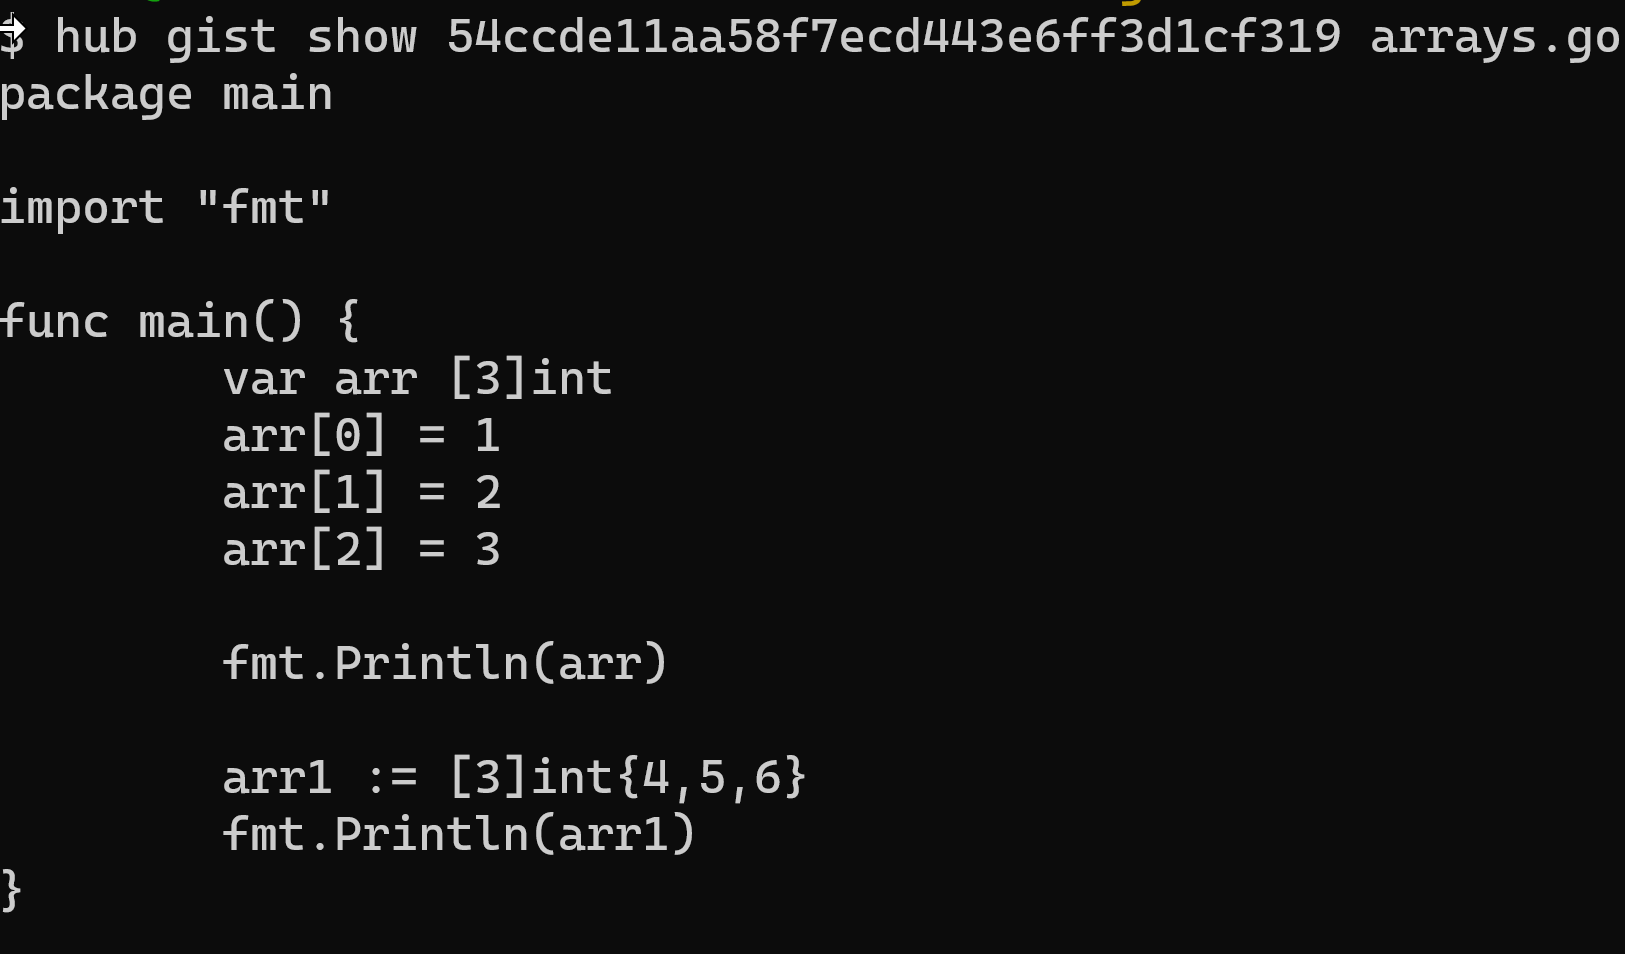
You can get the contents of a gist by specifying the filename.
|
|
Create gists
Creating gists can be done using the hub gist create command.
|
|
This command creates a secret gist and the URL gets shown in the output. In this method, the gist gets created as a .txt file.
|
|
The above command will create the gist and add the files test1.ps1 and test2.ps1 from the local folder. the -c flag will copy the created gist URL to clipboard.
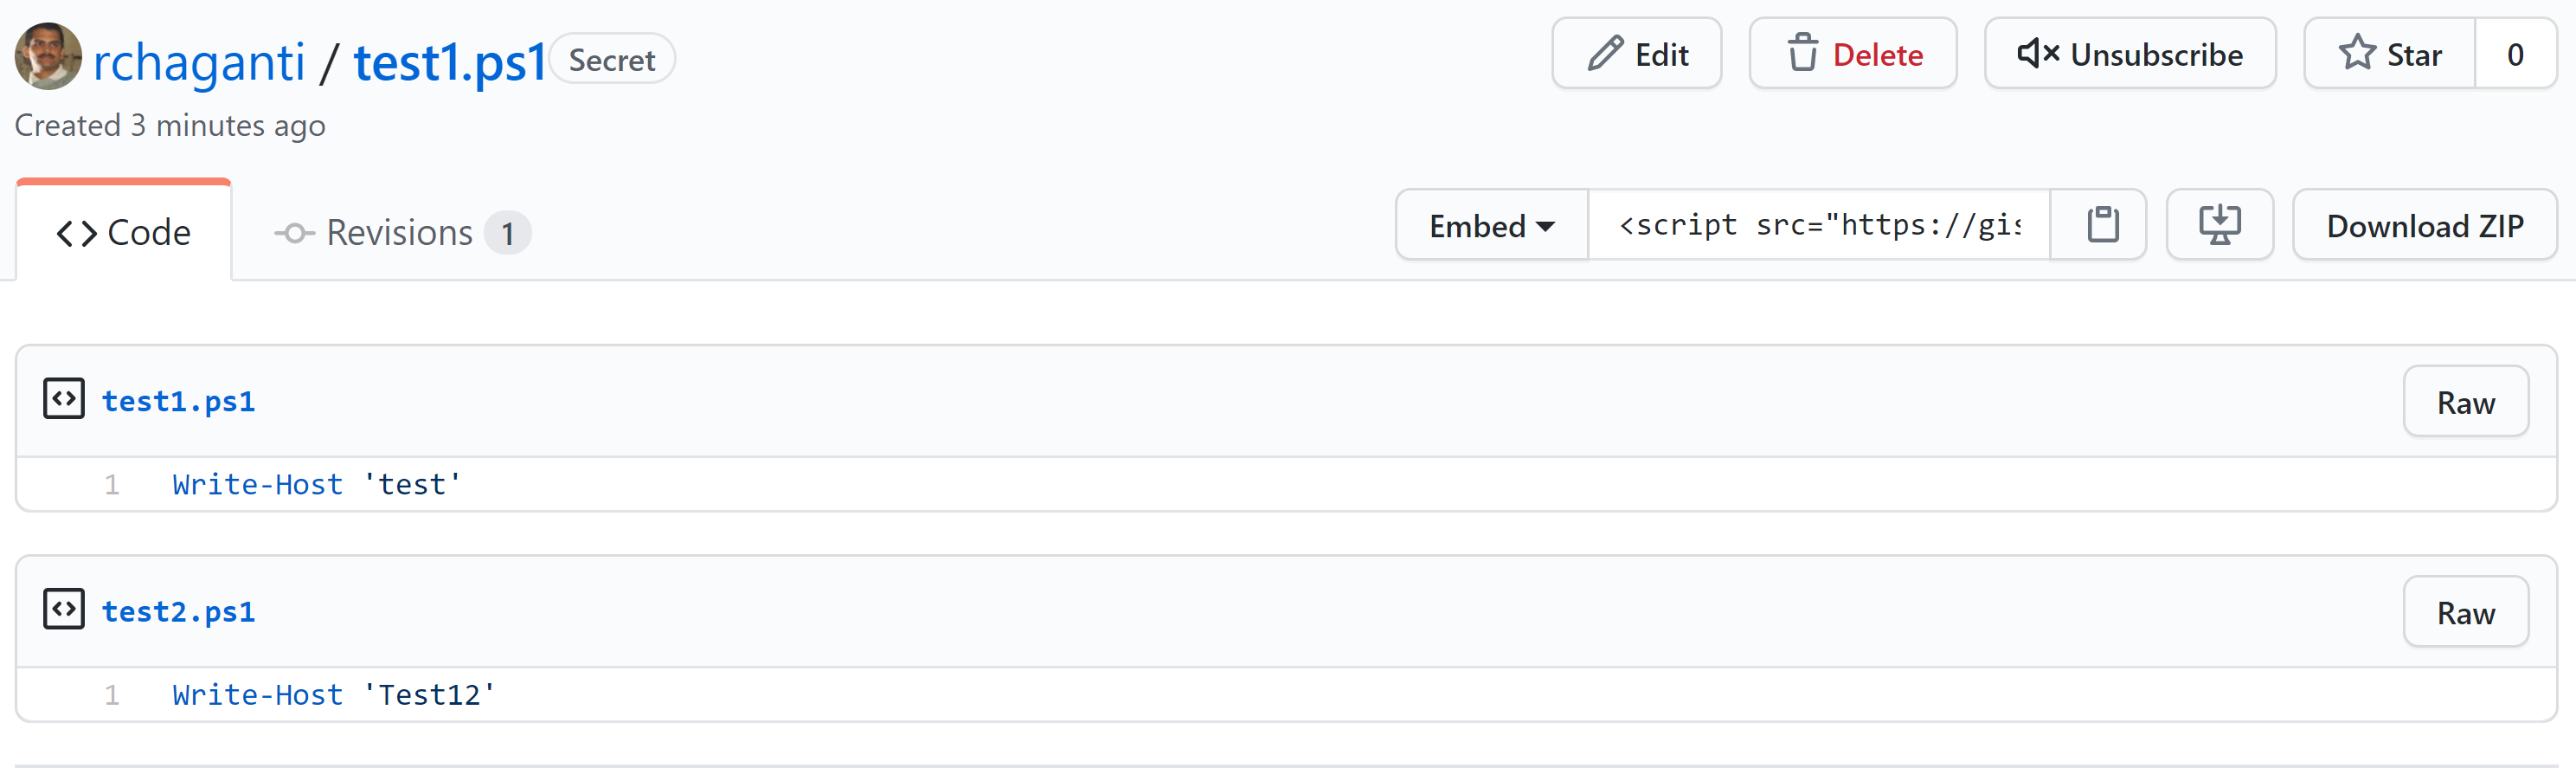
You can use the --public flag to create a public gist and -o flag to open the newly create gist in a browser.
This is it for today. In a future article, we will revisit some more hub CLI commands.
Comments
Comments Require Consent
The comment system (Giscus) uses GitHub and may set authentication cookies. Enable comments to join the discussion.